
How to add and set up a custom email on an android device
Generally, Android devices use the Gmail app as the default service for emails, so it will be good to use Gmail to show you how to set up your email. However, you can choose whichever email Android app that you feel comfortable with.
Please, follow the instructions below to add and set up an email on your android device.
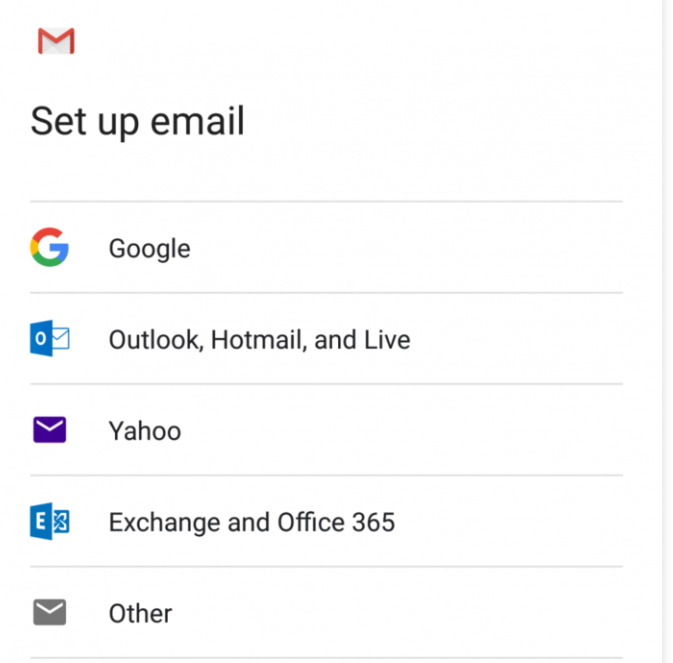
- In the top right corner of your Gmail app, click on your account. There will be a new prompt. Choose the Add another account option. On the next page, choose Other.
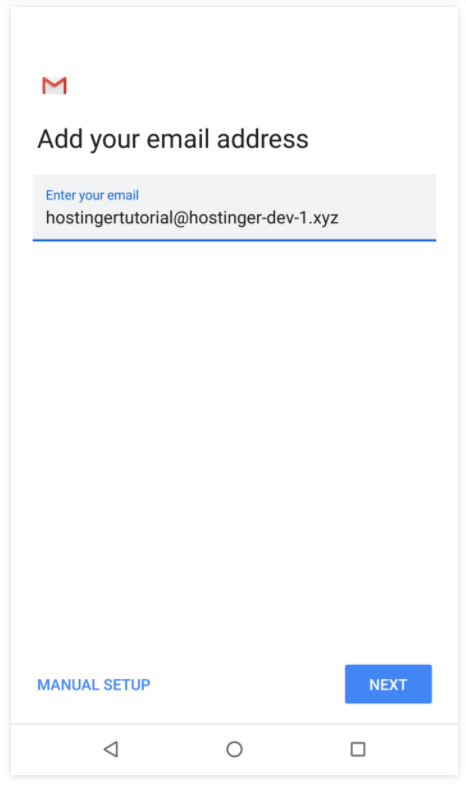
- Once you’ve entered your email, don’t hit the Next button just yet. Instead, select Manual Setup.
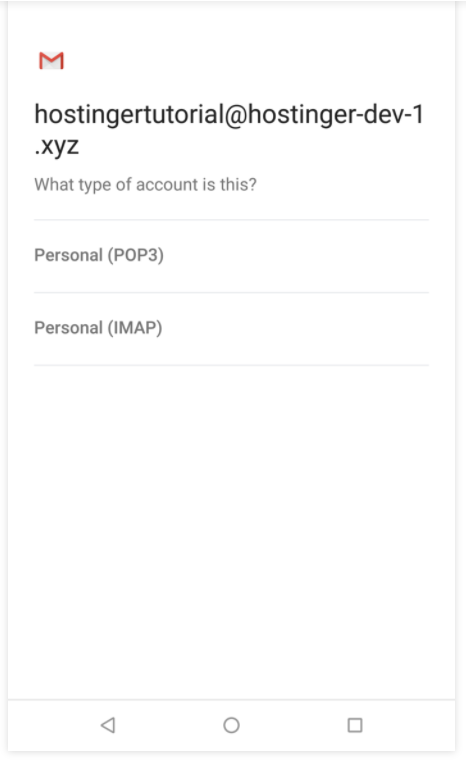
- Now, you will have to choose which protocol you want to use to get your mail – POP3, IMAP, or Exchange. To have better synchronization from multiple devices, it’s better to choose the IMAP option.
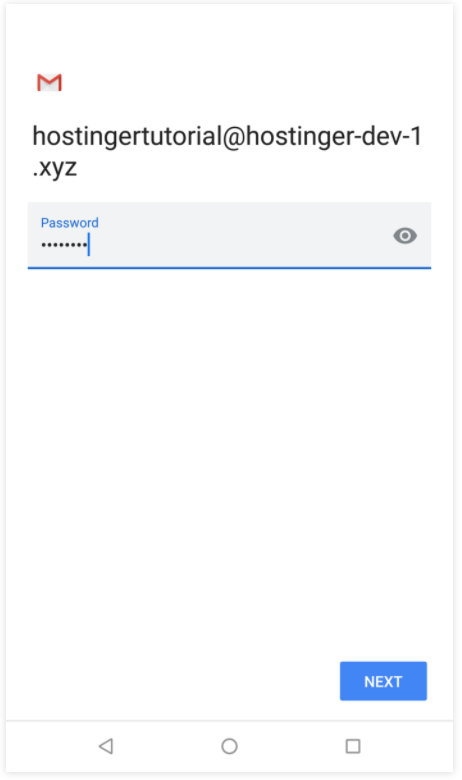
- Fill in the password for your email address and hit Next.
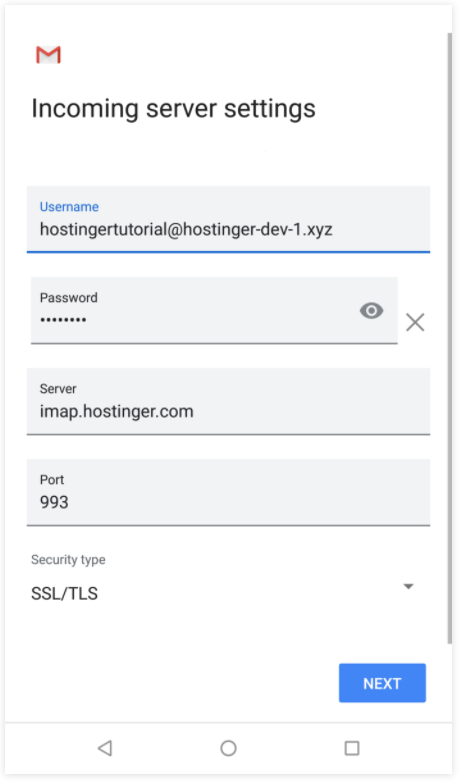
- Now it’s time to configure your Incoming server settings. You must specify your IMAP Server. This information will also be on the Email Accounts page of your hPanel.
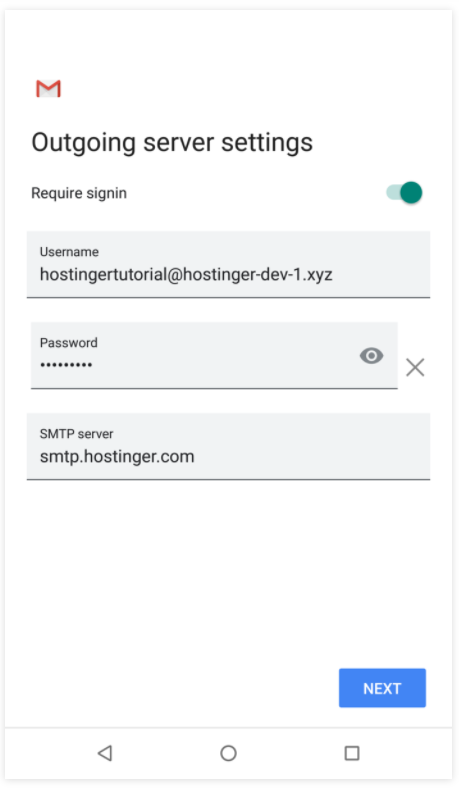
- On the Outgoing Server Settings, enter your SMTP Server. Then click Next.
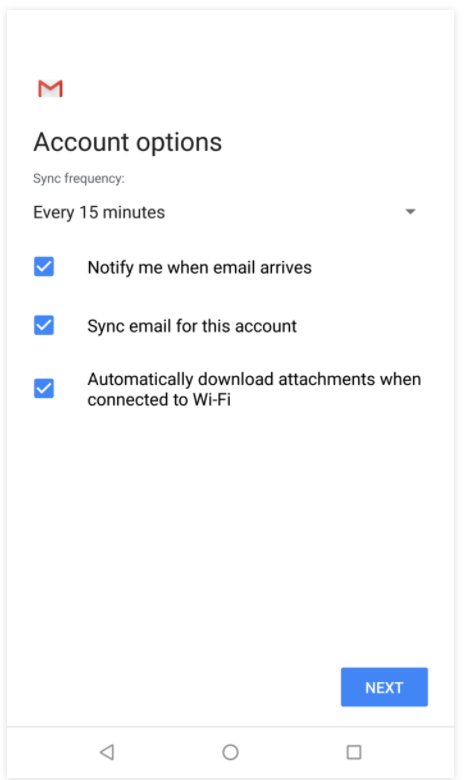
- Now you can set up your Sync frequency: and check any additional settings you would like to use. Then tap Next.
- Lastly, type in your Account name (optional) and Your name – or any name that you would like to use – so you can filter out messages from your personal account.

Congratulations, you’ve learned how to set up an email on an Android device, and as you can see, these steps are pretty easy to follow.